Original Red Velvet Cake
Introduction
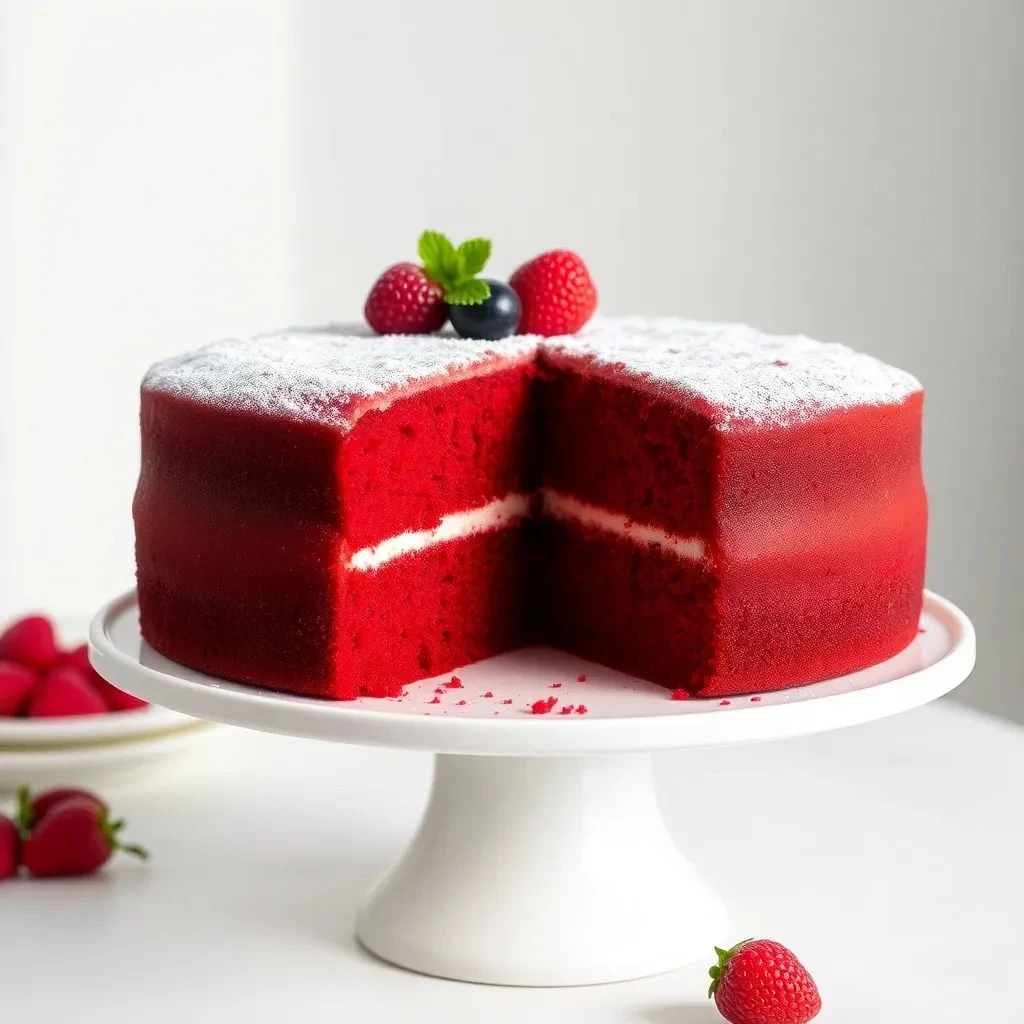
The Original Red Velvet Cake is a timeless classic that brings joy to any celebration. Its deep red color and silky texture make it not just a dessert but a real showstopper. If you’re looking to bake something that’s guaranteed to impress, this is the cake for you. Whether you’re making it for a birthday, an anniversary, or a simple family gathering, the Original Red Velvet Cake is always a hit.
Why Make This Recipe
This recipe is special for many reasons. First, it’s fairly simple to make, even for beginner bakers. The ingredients are easy to find and the steps are straightforward. Plus, who can resist that charming red hue and the rich flavor? I remember the first time I baked it for a family gathering. Everyone raved about it, and I felt like a superstar! With this recipe, you can create those delightful moments too.
The cake is often paired with cream cheese frosting, which adds a wonderful tangy flavor, balancing the sweetness perfectly. It’s a fantastic way to end a meal or to serve alongside coffee or tea.
How to Make Original Red Velvet Cake
Ingredients:
- 2 1/2 cups all-purpose flour
- 1 1/2 cups granulated sugar
- 1 teaspoon baking soda
- 1 teaspoon salt
- 1 teaspoon cocoa powder
- 1 1/2 cups vegetable oil
- 1 cup buttermilk, room temperature
- 2 large eggs, room temperature
- 2 tablespoons red food coloring
- 1 teaspoon vanilla extract
- 1 teaspoon white vinegar
Directions:
-
Preheat your oven to 350°F (175°C). Grease and flour three 9-inch round cake pans. This step is crucial to ensure your cakes come out easily!
-
In a large bowl, sift together the flour, sugar, baking soda, salt, and cocoa powder. Sifting helps to ensure a light and fluffy cake.
-
In another bowl, mix the vegetable oil, buttermilk, eggs, food coloring, vanilla extract, and vinegar until well combined. The food coloring is what gives this cake its signature red color!
-
Gradually add the dry ingredients to the wet ingredients, mixing until just combined. Be careful not to overmix; this keeps the cake light and airy.
-
Divide the batter evenly among the prepared cake pans, trying to keep it as equal as possible.
-
Bake for 25-30 minutes or until a toothpick inserted into the center comes out clean. You’ll want to keep an eye on your cakes as they bake—the smell is heavenly!
-
Let the cakes cool in the pans for 10 minutes, then turn them out onto wire racks to cool completely. Patience is key here!
-
Frost with cream cheese frosting once completely cool. The frosting makes all the difference!
How to Serve Original Red Velvet Cake
Once your cake is frosted, it’s ready to serve! You can simply slice it and enjoy it as is, or you can add some decorative touches like fresh berries or a sprinkle of cocoa powder for an extra flair. This cake pairs wonderfully with a scoop of vanilla ice cream or a dollop of whipped cream.
Feel free to share it with friends and family, or keep it all to yourself! Either way, you can’t go wrong.
How to Store Original Red Velvet Cake
If you happen to have leftovers (which is rare!), you can store your cake in an airtight container. Keep it in the refrigerator for up to a week. Just make sure to let it come to room temperature before serving for the best flavor and texture.
Tips to Make Original Red Velvet Cake
- Make sure all your ingredients are at room temperature—this helps with blending and ensures a fluffy cake.
- Don’t skip the step of greasing and flouring your cake pans. This helps prevent sticking.
- If you like your cake extra moist, you can brush the layers with a simple syrup before frosting.
- Experiment with frosting flavors—while cream cheese is classic, chocolate or vanilla also work great!
Variation
You can reinvent this cake in different ways! For example, try adding a hint of espresso for a mocha red velvet cake. You can also make red velvet cupcakes using the same batter—follow the same instructions, just fill cupcake liners instead of pans!
FAQs
1. What makes a cake red velvet?
The red color primarily comes from the red food coloring used in the recipe, but the combination of cocoa powder and buttermilk gives it a unique flavor.
2. Can I use cake flour instead of all-purpose flour?
Yes, you can use cake flour for a lighter, fluffier cake. Just remember that you might need to adjust the measurements slightly.
3. Can I make this cake ahead of time?
Absolutely! You can bake the cake layers a day or two in advance. Just wrap them tightly and store them in the refrigerator.
Now that you have all the details, it’s time to gather your ingredients and get baking! Enjoy making this delightful Original Red Velvet Cake with your family and friends. For more delicious recipes, check out Baking.com and don’t forget to share your creations!
